
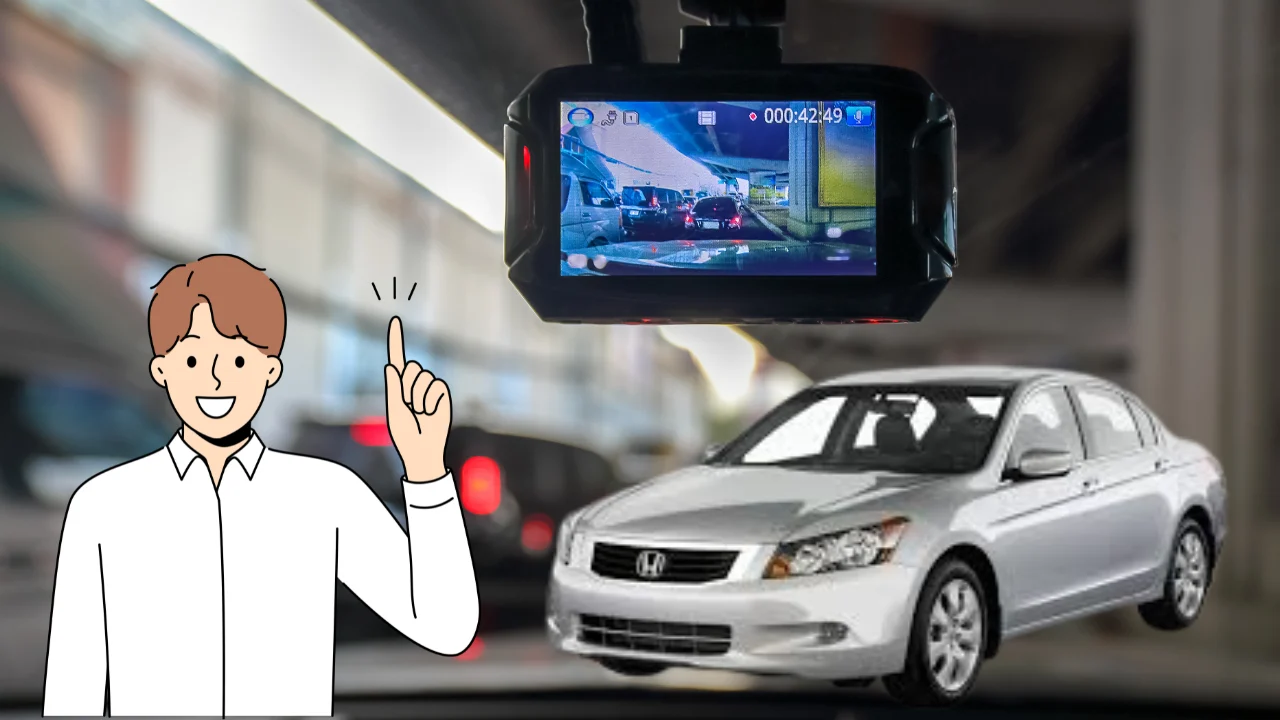
To install dash cam on a Honda Accord 2010 might seem tricky, but trust me, it’s easier than you think. Over 35% of drivers in the U.S. have started using dash cams for added safety and evidence in case of accidents. For a car as reliable as a 2010 Honda Accord, adding a dash cam ensures you’re keeping up with modern driving needs. Find out if You Can Use a Phone as a Dash Cam effectively.
In fact, having a dash cam could save you from legal troubles while driving in traffic-heavy areas. I’ve read that dash cams help resolve disputes in over 40% of accident claims! Whether you’re commuting daily or going on road trips, this small device can make a big difference.
How can I ensure the dash cam operates effectively in various weather conditions?
To ensure your dash cam operates effectively in various weather conditions, it’s essential to choose a high-quality model with an operating temperature range that suits your climate. For example, some dash cams can function in temperatures as low as -10°C (14°F) and as high as 70°C (158°F).
Ensure the dash cam is securely mounted, avoiding direct exposure to sunlight or moisture. Also, invest in a good-quality memory card with ample storage capacity to prevent data loss. Lastly, regularly clean the lens to ensure clear footage, especially during rain or snow. Learn about performance and features in Rove vs Redtiger Dash Cam.
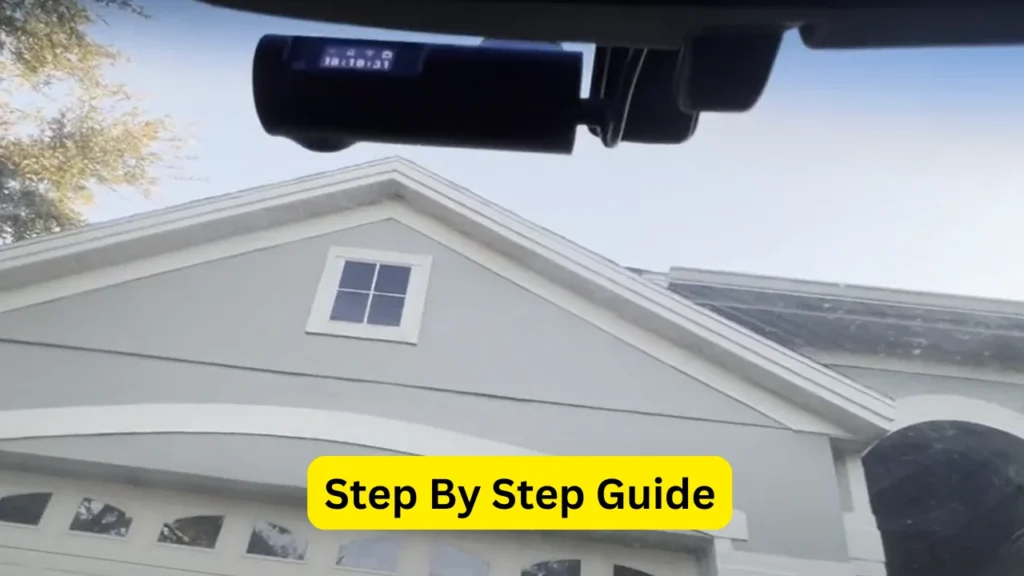
Step By Step Guide to Install Dash Cam on Honda Accord 2010
Choosing the Right Dash Cam
Picking the perfect dash cam for your Honda Accord 2010 might seem tricky, but don’t worry—I’ve got you! Let’s explore the features you’ll need to make your drive safer and stress-free.
Key Features to Consider
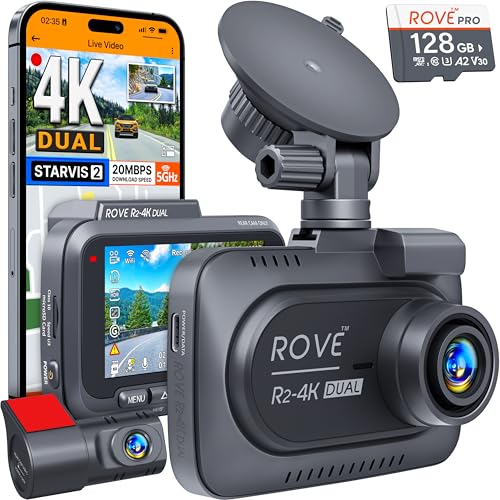
When selecting a dash cam, focus on video quality. A 1080p camera is good, but a 1440p resolution gives sharper images, making it easier to read license plates. Wide-angle lenses of 140° or more ensure you capture both lanes and the road’s edges.
Storage is another key factor. Opt for a dash cam that supports up to 128GB memory cards. This capacity can store up to 12 hours of video, depending on the resolution. Loop recording is essential so older footage is automatically overwritten when storage is full.
Parking mode is a lifesaver for protecting your car when it’s parked. It activates recording if it detects movement or impact. If you often drive at night, prioritize night vision features, as they improve clarity in low-light conditions.
Connectivity can make your experience seamless. Wi-Fi-enabled dash cams let you transfer footage to your phone instantly. Built-in GPS is also handy for logging your speed and location data during incidents. Understand why you should Change Your Dash Cam After a Van Conversion.
Preparation Before Installation
Before we dive into installing the dash cam in your Honda Accord 2010, let’s get everything ready. Proper preparation will save time and avoid mistakes during the process. Here’s what you’ll need to do:
Tools and Materials You’ll Need
To install your dash cam, gather the following: a dash cam kit, a 12V power adapter, a trim removal tool, and zip ties. You’ll also need a microSD card with at least 32GB of storage for recordings. Don’t forget a basic screwdriver and a pair of gloves to protect your hands.
Choose the Right Location for the Dash Cam
Positioning is key! The dash cam should be placed behind the rearview mirror for an unobstructed view. Make sure it doesn’t block your line of sight. For reference, the rearview mirror is roughly 10 inches from the windshield’s top edge in most Honda Accord 2010 models.
Clean the Installation Area
A clean surface ensures the dash cam adheres properly. Use a glass cleaner to clean the windshield where the camera will be placed. Spend about 2-3 minutes on this step to avoid the camera falling off later.


Installation Methods
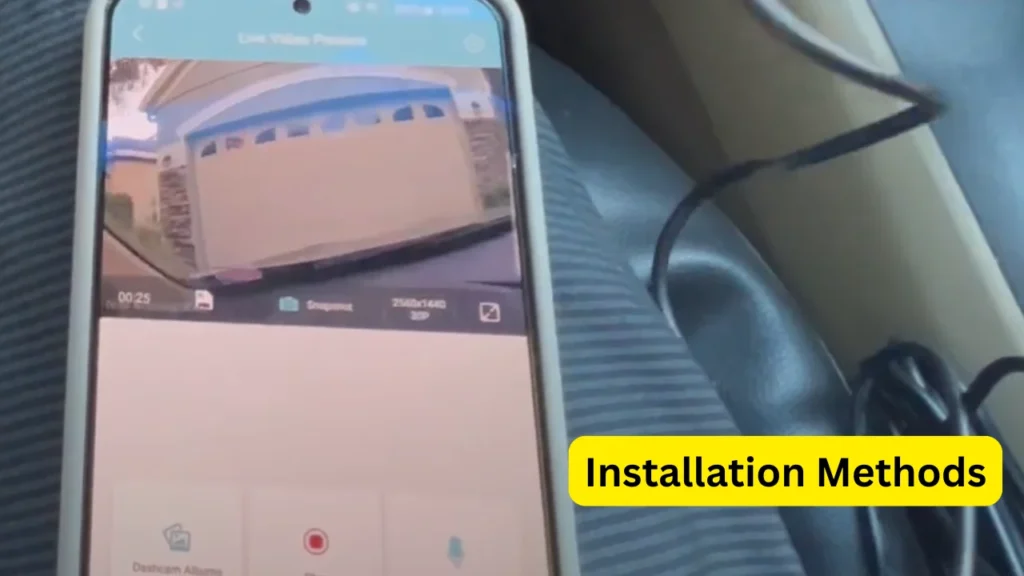
Before we dive into the details, there are a few ways to install your dash cam in the Honda Accord 2010. I’ll cover both the easiest and the cleanest methods so you can choose what works for you.
Using the Front Power Socket
This method is super simple and takes about 20–30 minutes. First, mount the dash cam on the windshield, roughly 2 inches below the rearview mirror for the best view. Plug the power cable into the 12V power socket near the gear shift.
Next, route the cable along the edge of the dashboard. Use adhesive cable clips (a pack of 10 costs around $5) to secure it neatly. Although visible, this setup is functional and ideal if you don’t mind minor wire exposure.
Hardwiring to the Fuse Box
Hardwiring takes about 45–60 minutes and gives a professional, wire-free look. You’ll need a hardwire kit (priced around $15–$20) and a multimeter. Locate the fuse box under the driver-side dashboard; it usually has 20–30 fuses.
Attach the kit’s red wire to an “accessory” fuse, like the one for the radio, which powers on with the car. Ground the black wire to a metal bolt nearby. This method also enables parking mode features for 24/7 recording.
Routing the Cables
For a cleaner setup, tuck the cables into the headliner above the windshield. Use a plastic trim removal tool, which costs $10 on average, to avoid damaging the car. Route the wires down the A-pillar, ensuring they don’t interfere with the airbags.
Finally, guide the cable under the dashboard to the power source. This keeps everything hidden and sleek. Trust me, the effort is worth it when the car looks as tidy as before! Explore detailed comparisons in Nextbase vs Garmin Dash Cam.
Testing and Adjustments
Before hitting the road, let’s make sure your dash cam is ready for action. A little time spent testing and tweaking can save you from missing out on crucial footage later.
Powering Up the Dash Cam
First, plug your dash cam into the power source. Watch for the indicator light to confirm it’s working. If it doesn’t turn on, double-check the connection to the power socket or the fuse box.
Checking the Recording Feature
Record a one-minute clip and review it. Ensure the video resolution matches what your camera promised, such as 1080p or 4K. If the footage is blurry, clean the lens and test again.
Adjusting the Camera Angle
Position the dash cam so it captures 70% of the road and 30% of the sky. Too much of either can affect clarity. Use the live feed feature, if available, to fine-tune the angle.
Testing Parking Mode (Optional)
If your dash cam has parking mode, test it by simulating motion around your car. For instance, walk past the vehicle and check if it records a clip. This ensures the feature is working as intended.
Final Checks
Run the dash cam for 15 minutes to confirm it doesn’t overheat or shut off. Also, ensure the storage card—like a 64GB or 128GB microSD—is recognized and recording properly.
Maintenance and Troubleshooting
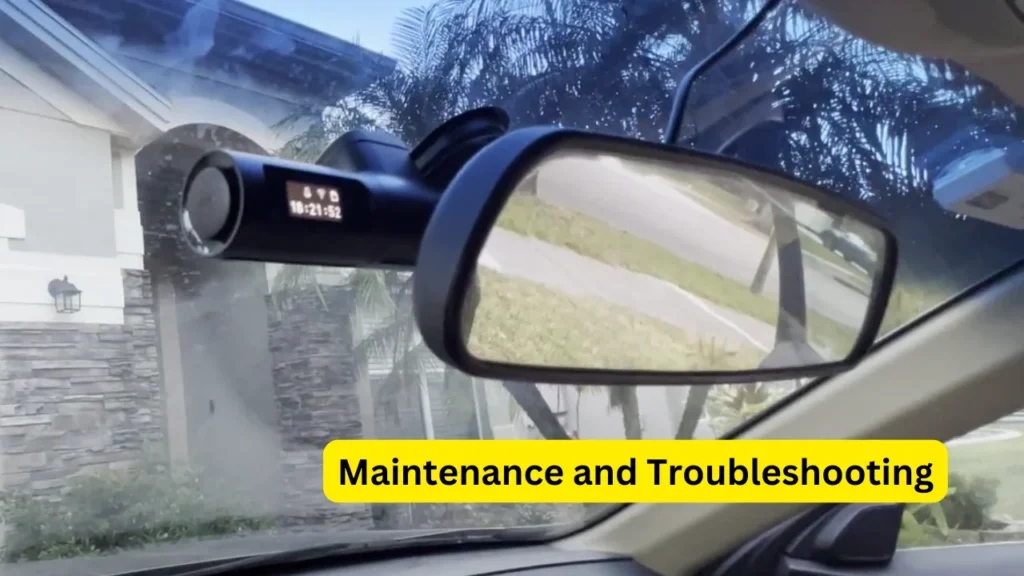
Taking care of your dash cam isn’t hard, but it does need a little effort to keep it running smoothly. In this section, I’ll share a few tips to help you maintain your dash cam and troubleshoot common issues.
Regular Maintenance
Cleaning your dash cam lens every 30 days ensures crystal-clear recordings. A microfiber cloth works best—avoid anything abrasive. Also, check the memory card monthly to avoid losing important footage.
Updating Firmware
Most dash cams need firmware updates every 3-6 months. These updates can improve performance and fix bugs. Don’t skip this step—outdated software can cause glitches or stop the camera from recording.
Memory Card Care
Use high-quality memory cards and format them every 60 days to prevent errors. Look for cards with Class 10 or higher speed ratings. A faulty card is often the cause of recording failures.
Common Troubleshooting Tips
If your dash cam doesn’t turn on, check the power connection first. Over 80% of the time, loose wires or a blown fuse are the culprits. For playback issues, try inserting the memory card into a computer to check for file corruption.
Avoid Overheating
On hot days, your dash cam can overheat, especially if left in direct sunlight. Try parking in the shade or using a sunshade. Remember, most dash cams are rated for temperatures up to 140°F (60°C). Discover the differences between two top brands in Garmin Dash Cam vs GoPro.
Legal Considerations
Dash cams are fantastic, but it’s crucial to know the laws about using them. Different countries and even states have varying rules. Let me walk you through what to watch out for.
Privacy Laws
Did you know that some regions restrict filming public areas? For instance, in Europe, GDPR compliance might limit what you can record. In the U.S., it’s legal to record in public spaces, but in states like California, audio recording without consent could get you fined up to $2,500!
Placement Rules
The location of your dash cam matters more than you think. In several U.S. states, like Minnesota, the device must not block more than 5 square inches of your windshield. Always mount it near the rearview mirror for safety and legal compliance.
Data Usage
If you’re recording, how long should you keep the footage? Some laws suggest a limit to avoid data misuse. For example, in Canada, businesses are advised to keep dash cam recordings for no more than 30 days unless required for legal purposes.
Final Words
Installing a dash cam on my Honda Accord 2010 felt like a game-changer! With a $100 investment and just 30 minutes of work, I now feel safer on the road. Whether you’re capturing unexpected events or improving driving habits, learning how to install dash cam on Honda
Accord 2010 is worth every effort. It’s a straightforward process that ensures peace of mind while adding value to your vehicle. Give it a try, and you won’t regret it!