
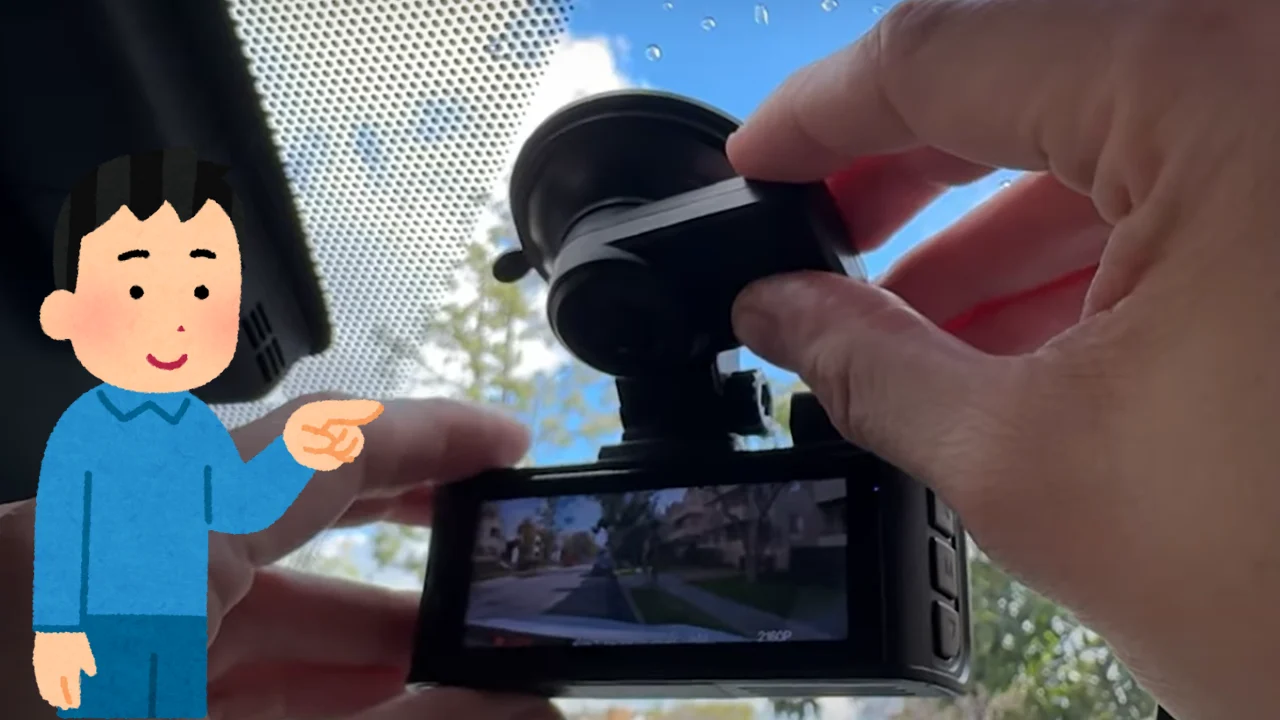
Installing a dash cam might sound tricky, but trust me—it’s easier than you think! When I first learned how to install Red Tiger dash cam, I realized it only takes about 20-30 minutes to set up. Whether it’s for added security or recording road trips, this small device can make a huge difference. Find out if an Audi Q4 needs a dash cam in our article, Does Audi Q4 Need Dash Cam?.
The Red Tiger dash cam comes packed with features, like 4K video resolution and 24/7 parking mode, making it worth the effort. Plus, with over 1 million satisfied users, it’s no wonder this dash cam is a favorite. Let’s dive into the steps to make your installation a breeze!
How do I update the firmware on my Redtiger dash cam?
To update the firmware on your Redtiger dash cam, first download the latest firmware version from the official Redtiger website. Then, format your microSD card and transfer the firmware file onto it.
Insert the microSD card into the dash cam, and it will automatically detect and begin the firmware update. Make sure your dash cam is powered on during the process. After the update is complete, the device will restart, and you can check if the update was successful. Learn effective ways to hide dash cam wires in our article, How to Hide Dash Cam Wires?.
Preparation

Before we jump into installing the Redtiger dash cam, let’s make sure we have everything we need. This step will save you time and frustration later. Trust me, preparation is key to a smooth setup!
Tools and Materials Needed
To get started, you’ll need your Redtiger dash cam, which usually includes the main unit, a power cable, and a mounting kit. Don’t forget a microSD card—at least 32GB is ideal, but I’d recommend going up to 128GB for more storage. If you want parking mode, grab a hardwire kit too.
Also, a few small tools can make things easier: cable clips to tidy up wires and a trim tool for hiding them under panels. These cost around $10 online and are worth every penny for a clean look.
Understanding Installation Options
There are two ways to install your dash cam. The first is the standard option: plugging the power cable into your car’s 12V socket (commonly called the cigarette lighter). This is super simple and works for most people.
The second option is hardwiring. This connects the dash cam directly to your car’s fuse box, providing continuous power for parking mode. It’s a bit trickier but ideal if you want the dash cam to record even when your car is off.
Choosing the Right MicroSD Card
Dash cams need a reliable microSD card. A high-endurance card designed for continuous recording is your best bet. Go for a 64GB or 128GB card—it’ll store up to 15 hours of footage before looping over older files. Trust me, cheap cards will fail quickly, so invest wisely!
Choosing the Right Location
Choosing the right location for your Redtiger dash cam is crucial for capturing clear footage and ensuring safety. For the front cam, mount it behind the rearview mirror, about 1-2 inches from the top of the windshield, for optimal visibility.
If you have a rear camera, place it in the center of your rear windshield for balanced coverage. Avoid obstructions that could block your view, and check local regulations, as some areas may have specific laws about dash cam placement for safety and legal compliance.
Installation Steps
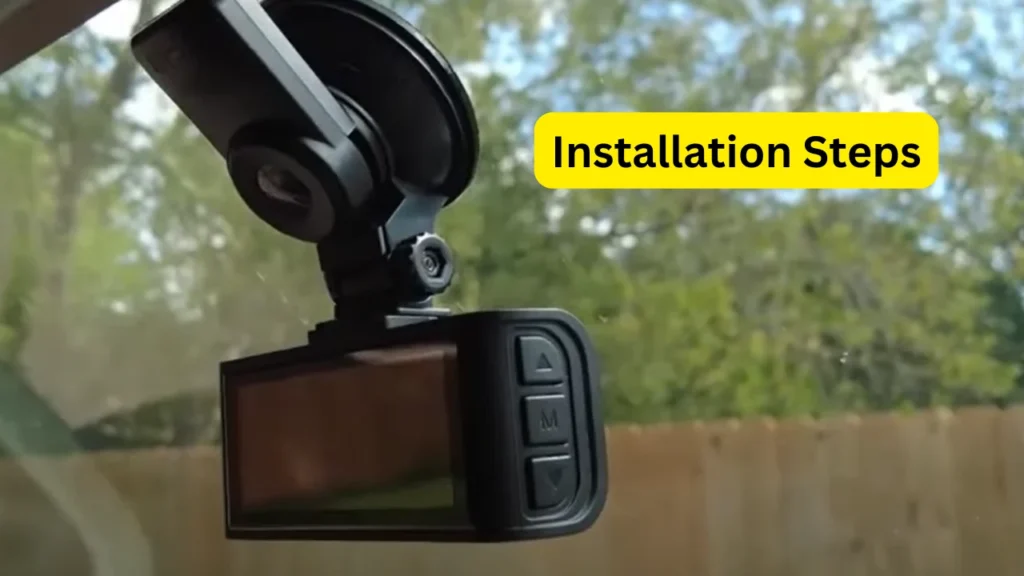
In this section, I’ll walk you through the step-by-step process of installing your Redtiger dash cam. With clear instructions, you’ll have everything set up and ready to roll in no time.
Step 1: Mount the Front Dash Cam
The first step is to pick the perfect spot for your front dash cam. I recommend mounting it behind the rearview mirror for the best view of the road, without blocking your line of sight. The Redtiger dash cam comes with an adhesive mount, which is easy to use and should stick securely for a long time.
Step 2: Route the Power Cable
Now that the dash cam is mounted, it’s time to connect it to power. If you’re using the cigarette lighter, run the cable along the headliner and down the A-pillar for a clean look. It usually takes around 5-10 minutes to hide the cable properly, depending on how neat you want to get with it.
Step 3: Install the Rear Camera (If Applicable)
If you’re installing a rear camera, it’s time to choose a central spot on your rear windshield. This will ensure the camera captures everything happening behind you. You’ll need to route the cable through the car, hiding it under trim panels or the headliner to maintain a tidy look.
Step 4: Connect the Power Source
Next, plug in the power cable to your car’s 12V outlet or proceed with the hardwiring option if you’re going for a permanent setup. This part takes about 10-15 minutes, especially when securing the wires under the trim. The hardwiring kit will provide power even when the car is off, which is great for parking mode.
Step 5: Set Up and Configure
Once everything is wired up, turn on your vehicle to power the dash cam. You’ll want to adjust the camera’s angle for the best coverage. Take a few minutes to configure the settings—like date, time, and resolution—so that everything works smoothly when you hit the road. Discover the differences between a capacitor and battery in dash cams in our article, Capacitor Dash Cam vs Battery.
Testing the Dash Cam
After installing the Redtiger dash cam, it’s crucial to test it to ensure everything works correctly. First, power on your car and check if the dash cam displays the road ahead. For rear cameras, verify both front and rear views.
Next, test the video quality by recording a short clip, ensuring sharp, clear 4K footage. Adjust the front camera’s 170° angle for maximum road coverage, and do a quick drive to confirm clarity. If using parking mode, ensure the camera activates when the car is off.
Hardwiring the Dash Cam (Optional)

Hardwiring your Redtiger dash cam ensures it gets continuous power, even when your car is parked. This option is great for activating features like parking mode, which records when motion is detected while the vehicle is off.
Locate the Vehicle’s Fuse Box
First, find your car’s fuse box, usually under the dashboard or near the driver’s side door. You’ll need to identify an ignition or ACC fuse that only provides power when the car is on—this prevents draining your car’s battery.
Use the Hardwire Kit
A hardwire kit typically comes with the dash cam, but if you don’t have one, you can purchase it separately. The kit connects the cam directly to the fuse box, ensuring it’s powered whenever the ignition is on.
Connect the Fuse
Take the red wire from the hardwiring kit and connect it to the chosen fuse. The black wire connects to a metal grounding point in your car. This step ensures that the camera gets a reliable power source for uninterrupted recording.
Check the Parking Mode
Once installed, the dash cam should automatically switch to parking mode when the vehicle is off. The camera will use the car’s battery to record any movement or impact. It’s essential to check that the parking mode is functioning correctly.
Test Your Installation
After the hardwiring process is complete, test your installation by turning your car on and off. The dash cam should power up when the ignition starts and turn off when the car is off, confirming everything is connected properly. Compare Blackvue and Thinkware dash cams in our article, Blackvue Dash Cam vs Thinkware.
Maintenance and Troubleshooting
Maintaining your Redtiger dash cam is key to ensuring it continues to perform reliably. It’s important to regularly check its condition and troubleshoot common issues.
Regular Maintenance Tips
I always make it a point to clean the lens of my dash cam regularly. Dust and dirt can affect the quality of the video, so a quick wipe with a microfiber cloth does wonders. Also, remember to check the cable connections every couple of months to avoid any loose or frayed wires.
Keeping Your MicroSD Card in Check
The microSD card is crucial for saving footage. I usually format it every two to three weeks, especially if I notice storage issues. For better longevity, I recommend using a high-endurance card, as they are designed to handle constant writing and rewrites.
Testing the Dash Cam Regularly
I suggest testing your dash cam every month or so to make sure it’s recording properly. A quick test run can help you detect any issues early, like poor image quality or the device failing to power on. A simple test takes less than five minutes but can save you a lot of headaches down the road.
Troubleshooting Common Issues
If the video is blurry, check if the lens is clean or if the camera angle needs adjustment. For power issues, verify the cable connections and the vehicle’s 12V outlet. If your dash cam freezes or stops recording, restarting it or updating the firmware usually solves the problem. Understand the difference between 30fps and 60fps dash cams in our article, 30fps vs 60fps Dash Cam.
Final Words
Installing a Redtiger dash cam can really enhance your driving experience. It’s a simple process, but following the correct steps will ensure everything works smoothly. If you follow this guide on how to install red tiger dash cam, you’ll be set up in no time!
Remember to double-check the positioning and power connections for optimal performance. With your dash cam installed and tested, you’ll enjoy peace of mind knowing your vehicle is always protected.