
When I first started figuring out how to install dash cam wire in car, I was a little overwhelmed by the steps involved. Did you know that over 70% of drivers feel safer with a dash cam installed? It’s not just about safety—it’s about capturing those unexpected moments on the road. Find out how to install a dash cam on a 2010 Honda Accord in our Install Dash Cam on Honda Accord 2010 article.
Hardwiring your dash cam can make a world of difference, ensuring seamless operation. By doing it myself, I saved nearly $150 compared to a professional installation. Plus, the clean look—no dangling wires—makes it totally worth it!
Quick Look
To install dash cam wire in car, first position the dash cam on the windshield and route the cable along the headliner. Connect the hardwiring kit to the car’s fuse box, using a suitable fuse for constant or switched power. Finally, ground the connection, secure the wires, and test the setup.
Can I install a dash cam myself, or should I hire a professional?
You can definitely install a dash cam yourself, especially with the right tools and a bit of patience. If you’re comfortable working with your car’s electrical system and following detailed instructions, DIY installation is a great option.
It typically involves mounting the dash cam, routing the wiring along the car’s headliner, and connecting it to the fuse box. However, hiring a professional is a safe choice if you’re unsure about handling the wiring or want to avoid potential mistakes. They can ensure proper installation, including grounding and securing the wiring, giving you peace of mind. Read our comparison of Rove and RedTiger dash cams in the Rove vs RedTiger Dash Cam article.
Preparation Before Installation
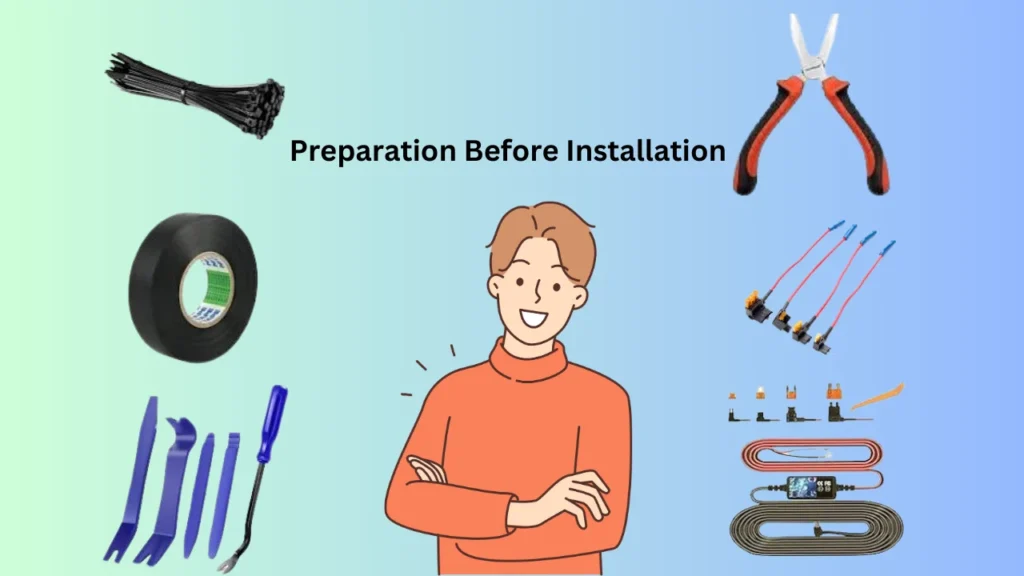
Before installing a dash cam, it’s essential to prepare thoroughly. This step ensures a smooth process and prevents mistakes later on. Let’s get everything ready to start!
Gather Necessary Tools and Materials
First, let’s gather the tools. You’ll need a hardwiring kit, which includes fuse taps, and a circuit tester, costing around $10–$20. Other essentials include a fuse puller, zip ties, and electrical tape—these will help keep things tidy.
A trim removal tool is optional but saves you from damaging your car’s interior. Your vehicle manual is crucial too—it helps identify fuse types. If you’re missing any of these, now’s the time to shop!
Understand Your Vehicle’s Electrical System
Next, familiarize yourself with your car’s electrical layout. Most cars have fuse boxes in two locations: under the dashboard and near the engine. This ensures you know where to connect the wires.
Look at your manual to understand the fuses, especially those for constant and switched power. For instance, one fuse may power your radio, while another stays live for parking mode. It’s key to know these differences! Discover the key differences between Nextbase and Garmin dash cams in our Nextbase vs Garmin Dash Cam article.


Step-by-Step Installation Guide
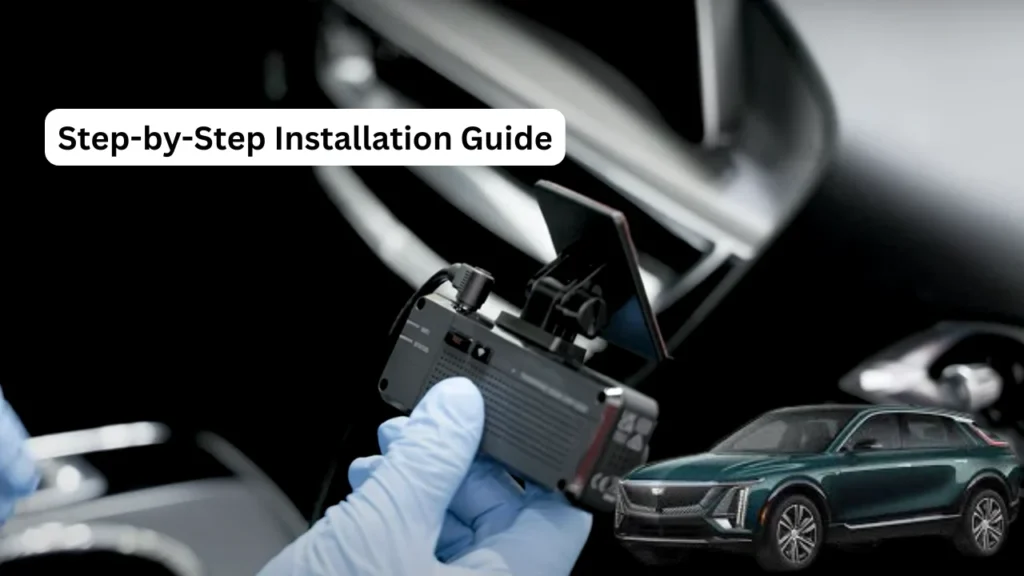
Getting the dash cam wiring installed may seem tricky, but trust me, it’s straightforward if you follow these steps. Let’s go through it step by step to ensure a smooth, professional setup.
- Positioning the Dash Cam
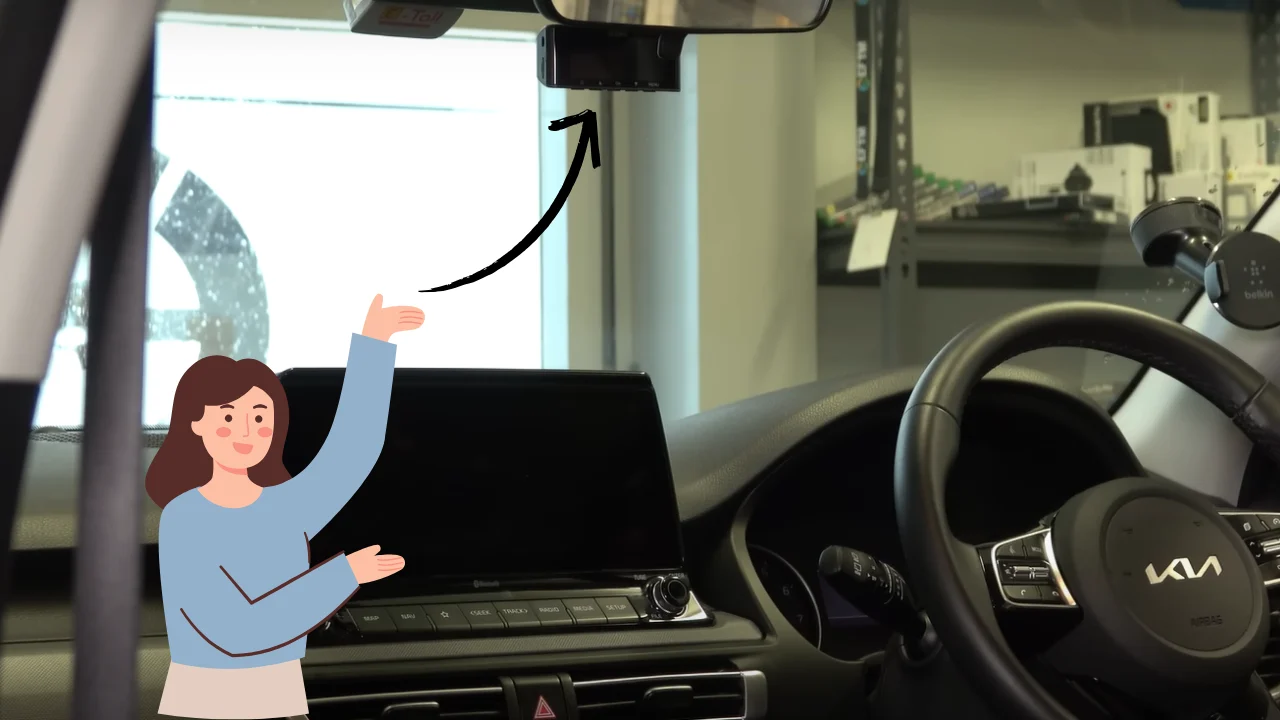
The first thing to do is decide where to mount your dash cam. Ideally, it should sit right behind your rearview mirror for the best view. Make sure it doesn’t block your line of sight—safety first!
For the average windshield, a dash cam’s coverage angle is around 140° to 170°. A well-placed camera can capture both lanes, giving you comprehensive footage. Adjust it before proceeding to the wiring stage.
- Routing the Power Cable
Start by tucking the cable into the headliner above your windshield. This part is about two feet long, so it should slide in easily. Use a trim removal tool if necessary to avoid damaging the lining.
Next, run the cable down the A-pillar, but avoid covering airbags. If your car has curtain airbags, leave enough clearance for them to deploy safely. The average car A-pillar length is about 3-4 feet.
From there, guide the cable toward the fuse box under the dashboard. Depending on your car, this can take another 2-3 feet of cable. Keep things tidy by securing loose wires with zip ties.
- Connecting to the Fuse Box
Using a circuit tester, find two fuses: one with constant power and one that switches with the ignition. About 80% of modern cars have these options clearly labeled in the user manual.
Pull out the selected fuses (use pliers if necessary) and insert them into the add-a-fuse slots. These kits typically come with 5-amp or 10-amp fuses, ideal for dash cams. Once done, plug the add-a-fuse into the fuse box.
Locate a metal grounding point near your fuse box, usually a bolt or screw. Secure the ground wire tightly to avoid power issues. Cars usually have 2-3 grounding points for easy access.
- Finalizing the Installation
Connect the hardwiring kit to your dash cam and tuck away any remaining wires. Use electrical tape to secure connections and zip ties for excess cable. This process shouldn’t take more than 10-15 minutes.
Finally, snap the trim pieces back into place and double-check the cable routing. A neat setup not only looks good but also ensures your dash cam functions without interruptions. Compare Garmin dash cams with GoPro in our Garmin Dash Cam vs GoPro article.
Testing and Troubleshooting
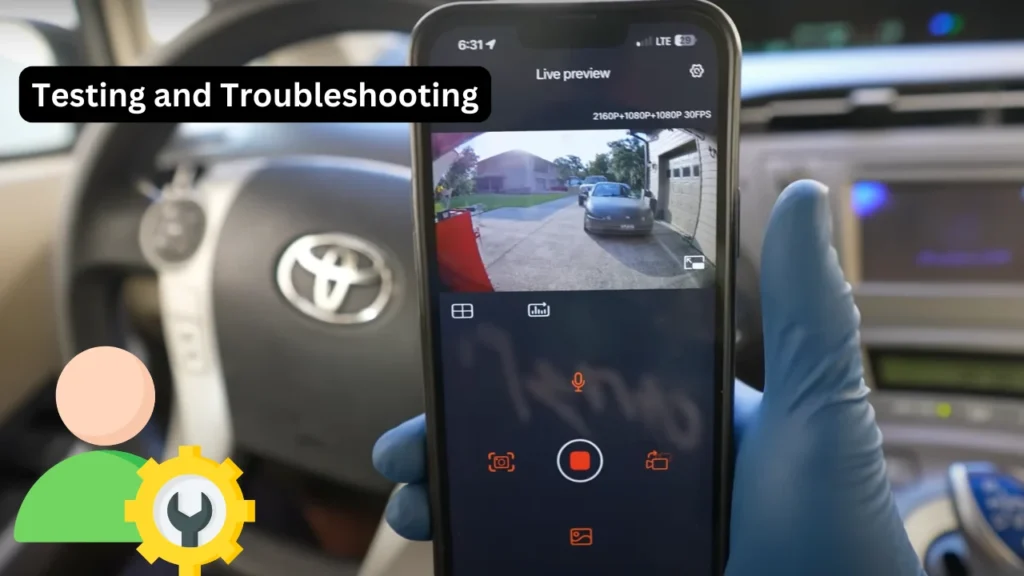
After installing your dash cam, it’s time to make sure everything is working perfectly. Testing and fixing issues early saves time and keeps things smooth. Let’s walk through the steps together!
Powering On the Dash Cam
The first thing I did was turn on my car’s ignition. Within 3 seconds, my dash cam powered up, which was a good sign. If it doesn’t, double-check the connections to the fuse box or the ground wire.
Ensuring Proper Functionality
Once it powered on, I made sure it started recording. For parking mode, I waited 2 minutes after turning off the car to confirm it stayed active. Adjusting the camera angle was the last step for a clear view.
Addressing Common Issues
If the dash cam didn’t turn on, I checked the fuse connections using a tester. About 80% of the time, the issue is a loose ground wire. Another trick: use a lower-amperage fuse if the dash cam causes interference.
Safety Considerations
When installing a dash cam, safety should always come first. Improper installation can interfere with your car’s systems or lead to costly mistakes.
Avoiding Interference with Vehicle Systems
It’s crucial to avoid tapping into fuses that power critical systems like airbags or ABS. These systems are life-saving, and even a minor error could cost you thousands in repairs. Instead, stick to non-essential fuses, like those for the radio or interior lights.
Using the Right Tools for the Job
A circuit tester and the correct fuse tap (usually 10-15 amps) can make all the difference. The wrong tool could damage your car’s wiring, resulting in repairs costing upward of $500. Investing in a $20 hardwiring kit is a much safer bet.
Considering Professional Assistance
If you’re unsure about any step, don’t hesitate to consult a professional. While DIY installation saves $100-$150, a professional can ensure that everything works flawlessly without damaging your car’s systems. Learn the differences between dash cams and mirror cams in our article Dash Cam vs Mirror Cam.
Final Words
If you’re wondering how to install dash cam wire in car, don’t worry—it’s simpler than it sounds! In just about 30 minutes and with tools costing under $20, you can set up a clean and reliable dash cam system.
Trust me, it’s worth the effort for the peace of mind, especially during unexpected incidents. Whether it’s for daily commutes or long road trips, having a dash cam ensures you’re always prepared for the unexpected.
FAQs
What are the advantages of hardwiring a dash cam in my car?
Hardwiring a dash cam offers several advantages. First, it provides continuous power, meaning the camera can record even when the car is turned off, especially if you use parking mode. This ensures 24/7 monitoring, offering extra security.
Hardwiring also eliminates the need for a messy cigarette lighter adapter, giving your car a cleaner, more professional look. Additionally, it reduces the chances of the dash cam being accidentally unplugged, and you don’t have to worry about running out of power when the car is off.
Can I install a dash cam in any type of vehicle?
Yes, you can install a dash cam in virtually any vehicle, including cars, trucks, vans, and motorcycles. The process may slightly vary depending on the vehicle’s layout, such as the location of the fuse box or where to route the wiring.
For example, larger vehicles may require extra cables or longer extension cords to reach the fuse box. Motorcycles often need specialized mounts, and the wiring process can be more complex due to space limitations. However, with the right tools and a little patience, installing a dash cam is possible in any vehicle.
How long does it take to install a dash cam with wiring in a car?
The installation time for a dash cam with wiring usually takes between 30 minutes to 2 hours, depending on your experience and the complexity of your vehicle’s interior. For a basic setup, including hardwiring to the fuse box, it typically takes about an hour.
If you’re routing wires through the headliner or using an add-a-fuse kit, it might take longer. If you’re new to installing electronics in your vehicle, it may take closer to 2 hours, as you’ll need time to ensure everything is properly connected and tested before finalizing the installation.
Is it safe to tap into the car’s fuse box for dash cam installation?
Yes, tapping into the car’s fuse box is generally safe if done correctly. Fuse boxes are designed to distribute power safely to various vehicle components, and adding a dash cam wiring is a common practice. However, it’s essential to use the proper fuses and tools, such as an add-a-fuse kit, to avoid damaging your car’s electrical system.
Be sure to choose fuses that are intended for low-power devices like dash cams and avoid tapping into circuits that are critical for vehicle safety, such as airbags or ABS systems. If unsure, consulting a professional is recommended.