

When I decided to change the dash cam after van conversion transit, I realized how vital it was for safety. Did you know that over 60% of van lifers report using dash cams for both security and accident evidence? My converted van deserved better features to match its new lifestyle! Learn step-by-step instructions for How to Inflate Bicycle Tire.
Upgrading was a no-brainer. Modern dash cams now offer 4K resolution, 170° views, and GPS tracking. After spending nearly 120 hours on the road last year, having a reliable dash cam was a must for peace of mind.
Assessing the Need for a New Dash Cam
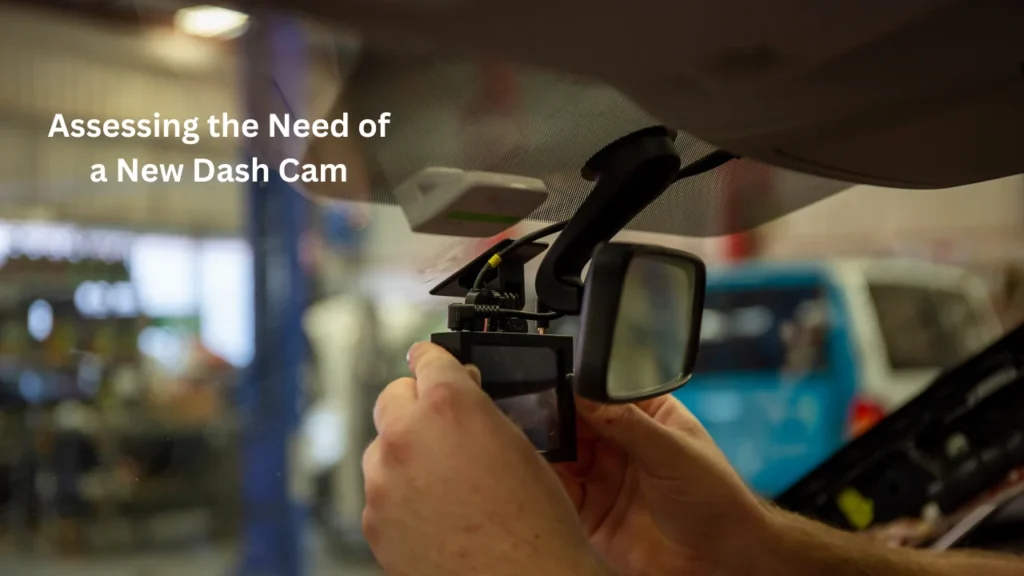
When I first considered whether to change my dash cam after van conversion transit, the decision boiled down to functionality. My old dash cam was five years old, and technology in this field evolves fast—about 20% of dash cams now offer 4K video quality. If your current one doesn’t deliver clarity, it’s time to upgrade.
Another factor was features. Most van lifers like me rely on wide-angle lenses, GPS tracking, and parking modes. Over 60% of dash cams today come with these features, but my older model didn’t. Conversions change how we use our vans, so the dash cam must match our new needs.
Finally, there’s safety. Driving a van is different post-conversion; I needed a dash cam that could handle long journeys and record continuously. Did you know that 70% of accidents happen within 25 miles of home? A reliable dash cam isn’t optional—it’s essential. Check out the advancements in Escort models with Escort Dash Cam M1 vs M2.
Key Features to Consider in a Dash Cam for Converted Vans

When you’re living the van life, choosing the right dash cam is essential for security and convenience. Let’s look at the key features you need:
High-Resolution Video Recording
Clear footage is a must, and 4K resolution is ideal. It captures details like license plates and road signs with precision. This is great for safety, insurance claims, or creating travel content. With four times the detail of 1080p, you won’t miss anything important.
Wide-Angle Lens for Better Coverage
A wide-angle lens captures more of the road, reducing blind spots. Look for 140 to 180-degree coverage to record multiple lanes. This is crucial for busy highways or city driving. The extra coverage gives you better protection in case of accidents.
Night Vision for Low-Light Situations
Driving or parking in the dark is common, and night vision is key. Infrared or low-light sensors ensure clear footage at night. Models like the Thinkware F200 Pro perform well in dark conditions. This feature is perfect for remote camping or poorly lit areas.
GPS Functionality for Tracking
A GPS dash cam records speed, location, and routes. This is useful for disputes or mapping your travels. For example, Garmin dash cams offer accurate tracking. It’s a handy feature for both safety and documenting your journey.
Parking Mode for Stationary Surveillance
Parking mode protects your van when it’s stationary. It records when motion or impacts are detected, even if the engine is off. Advanced models like the Nextbase 622GW provide 24/7 surveillance. It’s essential for keeping your van secure.
Weather-Resistant Build for Durability
Van life means facing extreme weather, so durability is key. Choose a dash cam that works in temperatures from -20°C to 50°C. It should also resist dust and water. A tough dash cam won’t fail during a snowstorm or heatwave. Explore the pros and cons of two leading brands in Garmin vs Viofo Dash Cam.
Installation Considerations
When it comes to installing a dash cam in a converted Ford Transit, planning is everything. I’ll walk you through key points to ensure a smooth and effective setup.
Placement Matters
The first step is choosing the right spot. Most dash cams work best when mounted just below the rearview mirror, giving you a 120-140° field of view. For taller vans like the Transit, this ensures both the hood and road are fully visible.
Wiring Options: Keeping It Tidy
You’ve got two main choices: hard-wiring or using the 12V power outlet. Hard-wiring can cost around $150 if done professionally but keeps the setup clean. On the other hand, using the outlet is faster, taking only 15 minutes to connect.
Integration with Your Van’s System
If your van has solar power or additional batteries, consider connecting the dash cam to those. A standard dash cam draws about 3-5 watts per hour, which won’t drain your system but requires careful planning to avoid interruptions.
Professional vs. DIY Installation
A professional installation typically costs between $100 and $200, depending on your location. If you’re handy, you can do it yourself with minimal tools like a trim remover and screwdriver. This saves money but might take an hour or two. Compare features and improvements in Garmin Dash Cam Mini 3 vs Mini 2.
Step-by-Step Guide to Installing a Dash Cam in a Ford Transit
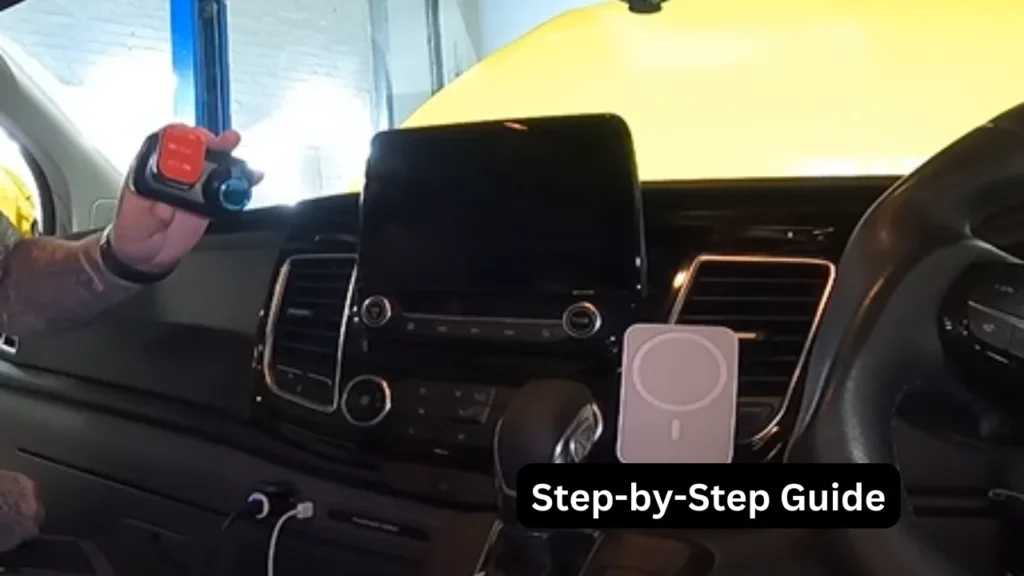
In this section, I’ll walk you through installing your dash cam in your Ford Transit. From gathering the tools to testing the setup, I’ll make sure you feel confident every step of the way.
Tools and Materials Required
Before starting, you’ll need a few basic tools. Grab a trim removal tool, screwdriver, hard-wire kit (if you prefer hardwiring), and a USB adapter if using a power outlet. Make sure your dash cam comes with all necessary mounting hardware, too—most reputable brands like Nextbase or Thinkware provide everything you need.
Preparing the Vehicle
Start by cleaning your windshield. A clear surface ensures the camera attaches properly and avoids any obstructions. Then, plan your wiring route—decide whether you’ll use the vehicle’s power outlet or hard-wire the dash cam for a cleaner, permanent installation.
Mounting the Dash Cam
Next, find a spot on the windshield that gives you the best view of the road. Typically, the center or near the rearview mirror works best. Most dash cams have adhesive mounts, so attach it firmly and ensure it’s level to avoid blurry footage.
Routing and Concealing Wires Along the Headliner and A-Pillar
Once mounted, carefully route the wires along the headliner and A-pillar to keep them out of sight. You might need to gently pop off the trim to tuck the wires behind it. Be cautious not to damage any clips or fasteners while doing this.
Connecting to the Power Source
Now, it’s time to connect the dash cam to a power source. If you’re hardwiring, use the provided wiring kit to connect to your vehicle’s fuse box. Alternatively, plug it into the 12V power outlet. I recommend hardwiring for a cleaner look, but the power outlet works just fine for simplicity.
Initial Setup and Configuration
Once the cam is powered, turn on your vehicle to check that everything is working. Set the date, time, and preferences on your dash cam’s display. For most models, this is a simple touchscreen process—follow the instructions on the screen.
Testing the Installation
Finally, take your Ford Transit for a short drive to test the installation. Check that the video feed is clear, the camera is positioned correctly, and that the wires are secure. You can also check if features like parking mode and motion detection work as expected. Discover the difference between dash cam resolutions in 1080p vs 1440p Dash Cam.


Legal and Ethical Considerations
When it comes to installing a dash cam in your converted van, you also need to consider the legal and ethical aspects of recording. Understanding your region’s laws will help avoid any issues, especially when it comes to privacy.
Legal Aspects of Dash Cam Usage
Before you hit the road, it’s essential to be aware of the rules governing dash cam use in your area. In places like the UK, it’s legal to record video, but audio recording might require consent from those involved, as per the law.
Privacy and Consent
Dash cams that record video are usually fine to use as long as you’re not invading someone’s personal space. If you’re driving in public areas, recording what’s in front of you is typically within your rights, but always be mindful of personal privacy.
Sharing Footage Online
If you plan to share dash cam footage online, it’s important to ensure you’re not violating privacy regulations. In some places, you may need to blur out license plates or faces before posting any video to protect individuals’ identities.
Maintenance and Troubleshooting
Maintaining your dash cam is essential to ensure it performs well over time. It’s a simple task that can save you headaches later on. Here are some tips to keep everything running smoothly.
Regularly Checking Functionality
The first step is making sure your dash cam works properly. A quick check once a month can make a huge difference. Look for any issues like the camera freezing or not recording – problems that might be fixed with a simple reset or update.
Updating Firmware and Software
Firmware updates are vital to enhance your dash cam’s functionality. Most cameras, like the Nextbase 622GW, offer regular updates. Keep an eye on your manufacturer’s website or app, as they often release improvements or bug fixes, and don’t forget to update every few months.
Managing and Backing Up Recorded Footage
If you’re recording long trips or leaving the camera running while parked, it’s essential to back up your footage. Some dash cams offer cloud storage or allow you to transfer files to a hard drive. Make it a habit to back up your footage monthly, especially if you rely on your cam for security footage.
Common Issues and Solutions
It’s not unusual for dash cams to run into issues. A common one is the camera not powering on. This could be due to a loose connection or a faulty power cable, both of which can be easily fixed. Another issue might be the footage not recording—check the microSD card, as it may need formatting or replacing.
Final Words
When I decided to change dash cam after van conversion transit, I realized how important it was to have the right features. A high-quality dash cam with 4K video, parking mode, and GPS tracking can make a huge difference in both safety and convenience.
With options like the Nextbase 622GW, I felt confident knowing I had a reliable camera for my converted van. Don’t overlook the benefits—upgrading your dash cam can truly enhance your travel experience.