
When learning how to connect a dash cam to a JVC head unit, it’s crucial to understand the convenience it offers. You can view live footage from your dash cam directly on the screen, adding an extra layer of safety while driving. For instance, you can monitor footage in real-time, which helps with awareness on the road. Understand the pros and cons of different power sources in Capacitor Dash Cam vs Battery for your car camera setup.
Knowing how to connect dash cam to JVC head unit also makes managing recordings simpler. Once connected, you can easily access and review footage from the JVC display. This eliminates the hassle of removing the memory card each time you want to check recordings, making the process more efficient.
Quick Look
Connect the dash cam’s video output to the JVC head unit using the appropriate cable, like RCA or HDMI. Power both devices on and set the head unit to the correct input source. Adjust the dash cam settings for the best display and recording quality on the head unit.
What is the maximum supported video resolution for dash cam input on JVC head units?
The maximum supported video resolution for dash cam input on JVC head units typically varies depending on the specific model. Most JVC head units with video input capabilities support resolutions up to 720p or 1080p (Full HD).
Some newer or higher-end models may even support 4K resolution, but this depends on the compatibility of both the dash cam and the head unit. It’s important to check the user manual or product specifications of your JVC head unit to confirm the exact video input resolution it supports, as it may differ based on the unit’s features and design. Check out the detailed comparison in BlackVue vs Garmin Dash Cam to find your ideal dash cam model.
Required Equipment
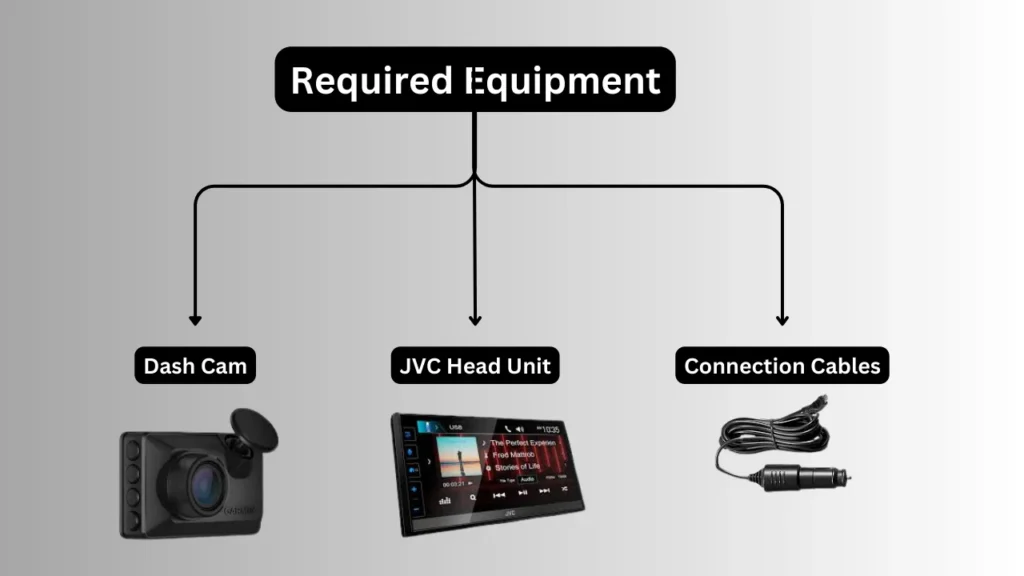
Before we dive into the installation process, let’s make sure we have everything we need. Having the right equipment will make your setup much smoother.
Dash Cam
First off, you’ll need a dash cam with video output capabilities. Most modern models have this feature, but if you’re not sure, check the manual or the manufacturer’s website. For instance, a Redtiger dash cam, which supports 4K resolution, is a great choice for this setup.
JVC Head Unit
Next, your JVC head unit must support video input from external devices. Most newer models, like the JVC KW-M745DBT, have a dedicated video input port for this purpose. Double-check that your head unit can accommodate video feed from your dash cam.
Connection Cables
You’ll also need the proper connection cables. Typically, this includes a video cable with RCA connectors for the video signal and a power cable to supply energy to the dash cam. The JVC head unit usually accepts a standard RCA video input, but make sure the cables are compatible with both devices.
How to Connect Dash Cam to JVC Head Unit? Step By Step Guide
Compatibility Check
Before diving into the installation process, it’s crucial to ensure that your JVC head unit and dash cam are compatible. This step will save you time and potential frustration later.
JVC Head Unit Models
First, check if your JVC head unit has the necessary video input ports, such as an AV or HDMI input. Many modern JVC units offer video input options, but it’s important to confirm that yours does. If you have a JVC KW-M750BT, for example, it has the necessary inputs to connect a dash cam.
Dash Cam Features
Next, verify that your dash cam has video output capabilities, as not all models support this feature. Models like the Redtiger or Garmin dash cams typically come with HDMI or AV outputs. If your dash cam doesn’t have a video output, connecting it to the head unit might not be possible. Discover the key differences and benefits in Dash Cam vs Mirror Cam to help you decide the best option.
Installation Steps
Now that you’ve gathered everything, let’s dive into the installation process. I’ll guide you through the necessary steps to connect your dash cam to your JVC head unit smoothly.
Mounting the Dash Cam
First, you’ll need to position the dash cam for the best recording angle. I usually recommend placing it behind your rearview mirror, about 3-5 inches from the top of the windshield. This ensures an unobstructed view of the road while keeping it discreet.
Connecting Video Output
Next, grab your video cable and connect the dash cam’s video output to the head unit’s video input port. Depending on your JVC head unit model, this might be an RCA or HDMI input. You may need a specific cable, so check the head unit’s manual for the right one.
Power Connections
After the video connection is done, it’s time to power up both devices. I connect the dash cam to a power source using the car’s 12V power outlet or hardwiring it directly to the fuse box. The JVC head unit should already be connected to the vehicle’s power, so make sure both devices are powered on.
Configuration
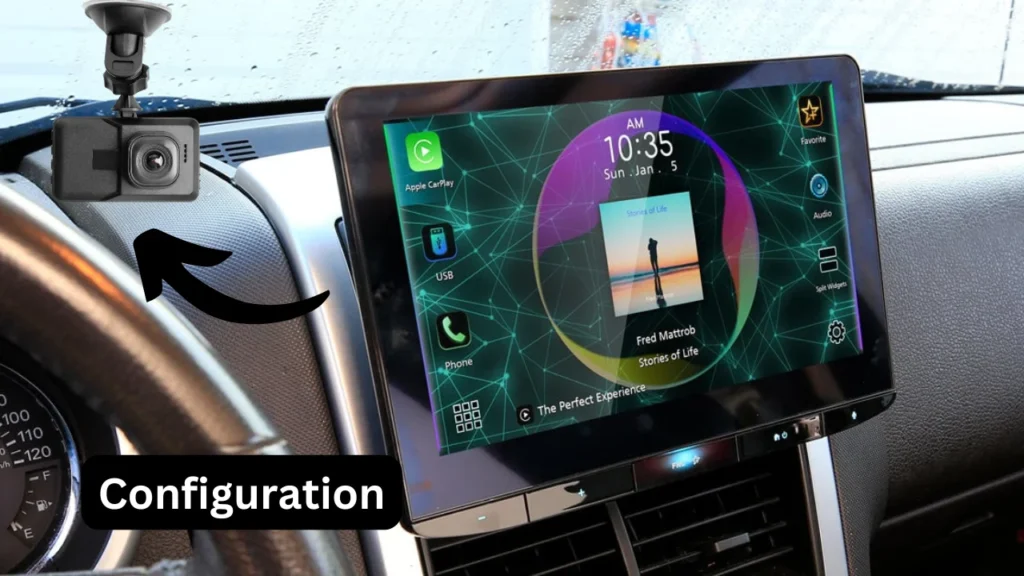
After connecting your dash cam to the JVC head unit, it’s time to configure both devices. This step ensures that everything works smoothly and that you’re able to access the video feed properly.
Head Unit Settings
First, head over to your JVC head unit’s settings. From here, you’ll need to select the input source for the dash cam. Usually, it’s labeled as “Video Input” or something similar. This allows the head unit to receive the dash cam’s video feed, which will be visible on your screen.
Dash Cam Settings
Next, adjust your dash cam’s settings for optimal performance. Set the video quality to the highest available resolution, typically 1080p or 4K, depending on your model. Make sure the recording mode is set to loop, allowing it to overwrite older footage when storage is full—this is crucial for ongoing use without manual management. You can explore how to turn your smartphone into a functional dash cam in our article Can You Use a Phone as a Dash Cam.
Testing
After completing the installation, it’s time to test everything to ensure the dash cam and JVC head unit are working together smoothly. Here’s what to check:
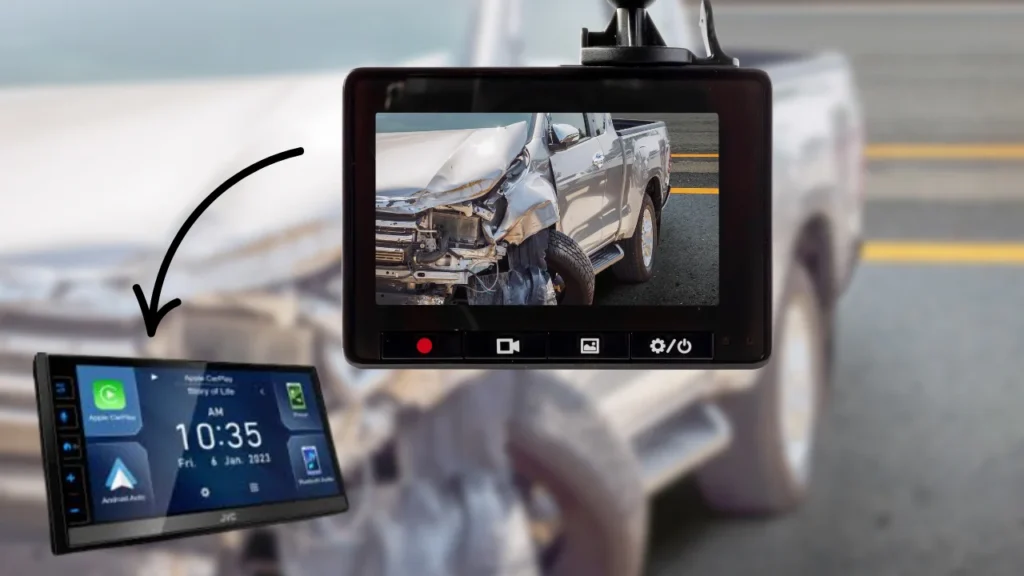
Functionality Check
First, power on your car and the head unit. I suggest checking the video feed from your dash cam on the head unit’s display. If everything is connected correctly, the live video from the dash cam should appear on your screen in real-time.
Recording Verification
Next, I recommend verifying that the dash cam is properly recording. To do this, try driving for a few minutes and then check if the recorded footage is saved and accessible via the head unit. A 1-2 minute test should be enough to confirm that the system is functioning as expected.
Troubleshooting
When connecting your dash cam to your JVC head unit, you might run into some issues. Don’t worry; I’ll walk you through a few common problems and how to fix them quickly.
No Video Signal
If the dash cam’s video feed isn’t showing on the screen, first check the connections. Ensure the video cable is securely plugged into both the dash cam and the JVC head unit. Sometimes, the issue is as simple as a loose connection.
If that doesn’t work, verify that you’ve selected the correct video input on the head unit. The input should match the one used for the dash cam connection.
Power Issues
Power problems can prevent either device from functioning correctly. Start by confirming both the dash cam and the head unit are receiving power. If your dash cam isn’t turning on, check if it’s getting power from the ignition or another vehicle source.
Sometimes, you’ll need to adjust the wiring setup to make sure everything is connected properly. If the head unit isn’t powering on, ensure the car’s ignition is on or the power supply is properly connected. Learn the step-by-step process in Install Dash Cam on Honda Accord 2010 for a hassle-free installation guide.
Wrap Up
To sum up, learning how to connect dash cam to JVC head unit enhances your driving experience by allowing easy access to footage right from your car’s display. By following the installation steps carefully, including connecting video and power cables, you can ensure seamless functionality.
Test everything to confirm the system works as expected. With this setup, you’ll have clear footage and a smoother experience, adding safety and convenience to your journeys while keeping everything easily accessible through your JVC head unit.